
How to Make Bone Marrow Broth
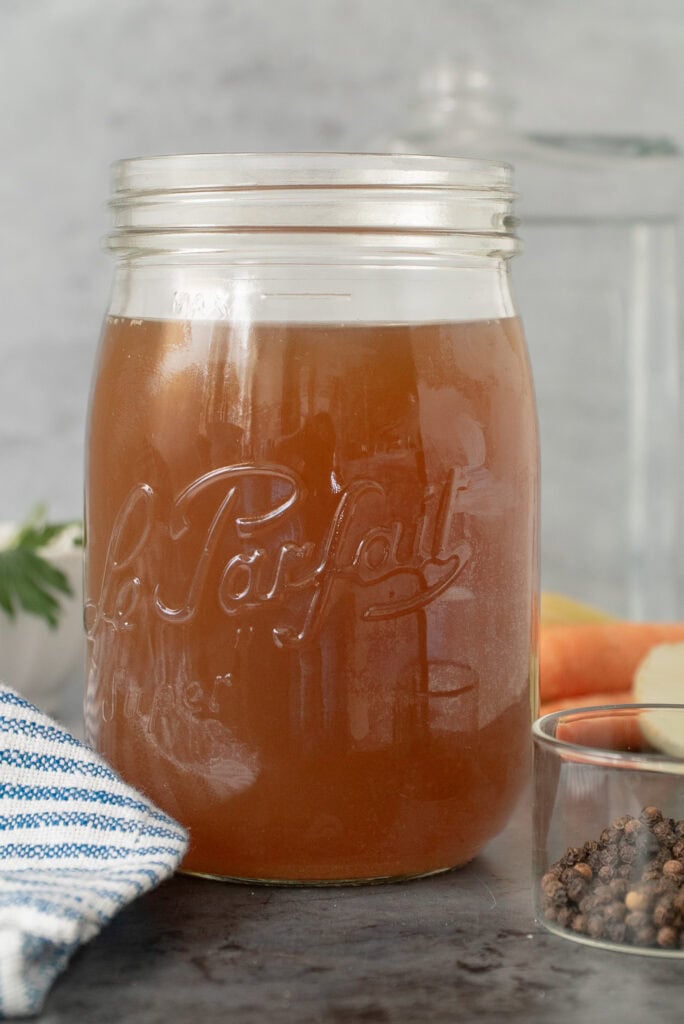
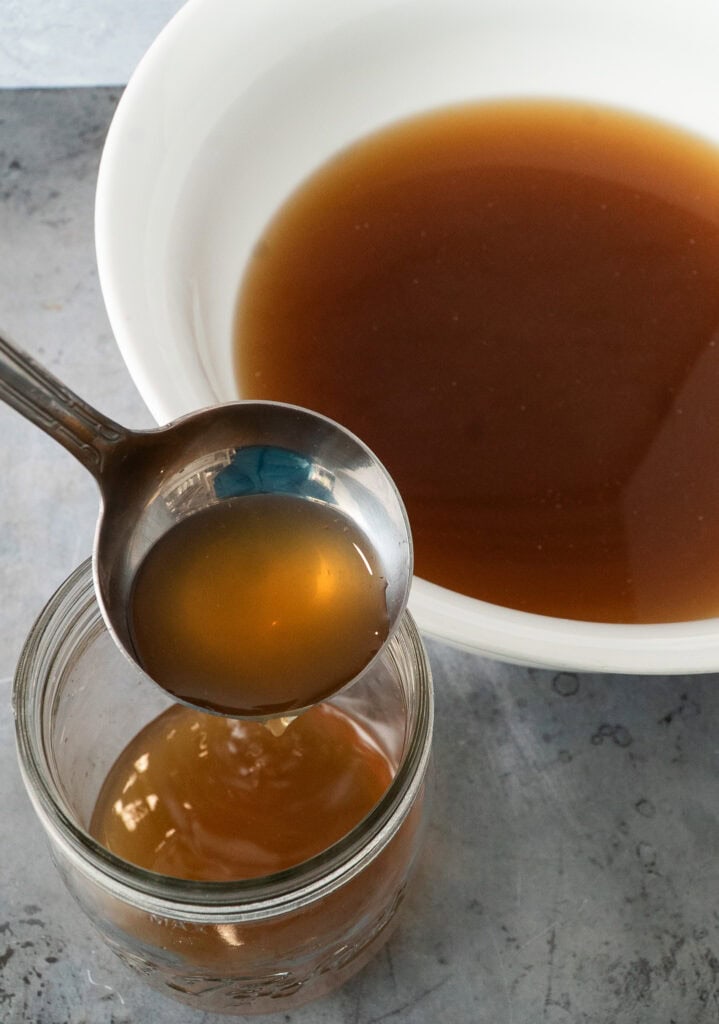
A pot of bone marrow broth quietly simmering on the stove changes the whole mood of a kitchen. It’s simple, steady cooking — bones, water, a few aromatics, and time — transforming humble ingredients into something deeply flavorful and nourishing.
This is old-world, no-waste cooking at its best. Rich marrow, softened vegetables, and hours of gentle bubbling create a broth that’s silky, savory, and endlessly useful. Sip it from a mug on a cold afternoon, turn it into soup, or use it as the base for meals all week long.
It isn’t complicated. It just takes patience — and rewards you with comfort and deep flavor in its purest form.
❤️ Why You’ll Love Bone Marrow Broth
Bone marrow broth is as nourishing as it is flavorful. Long, slow simmering draws out collagen from the bones, which transforms into gelatin — the element that gives broth its silky texture and is often associated with supporting joint health and digestion. You’ll also find naturally occurring minerals like calcium, magnesium, and potassium, along with amino acids that contribute to its restorative reputation. It’s simple, whole-food nourishment in its most absorbable form.
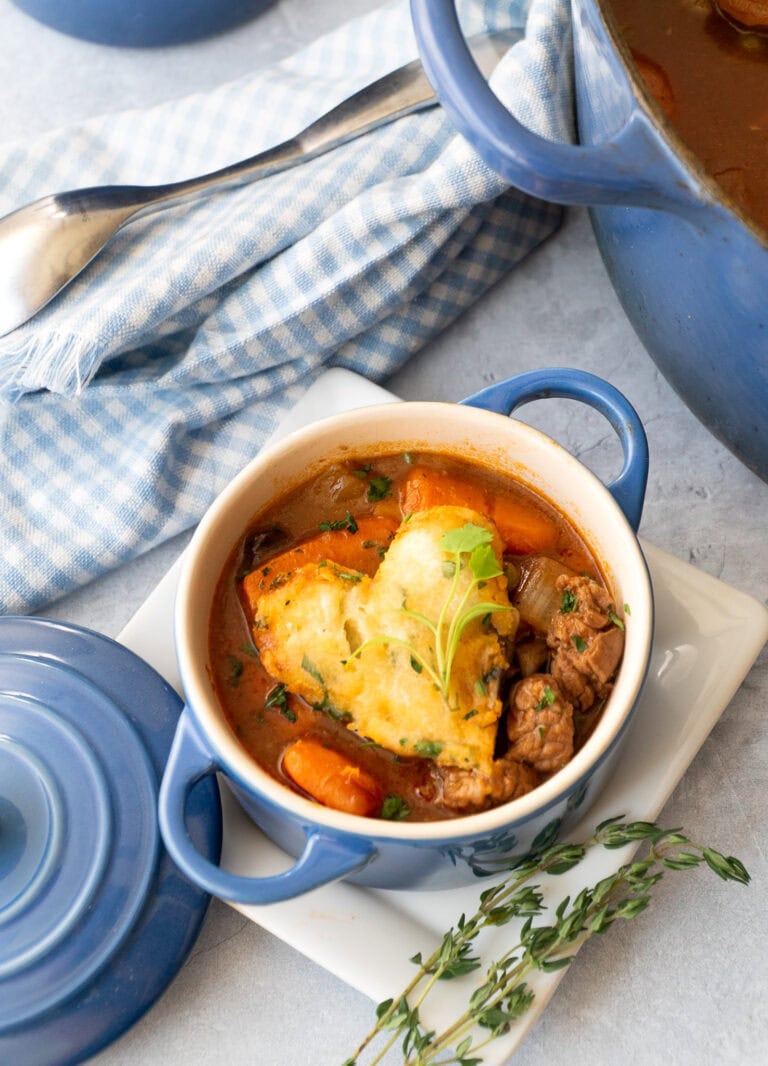
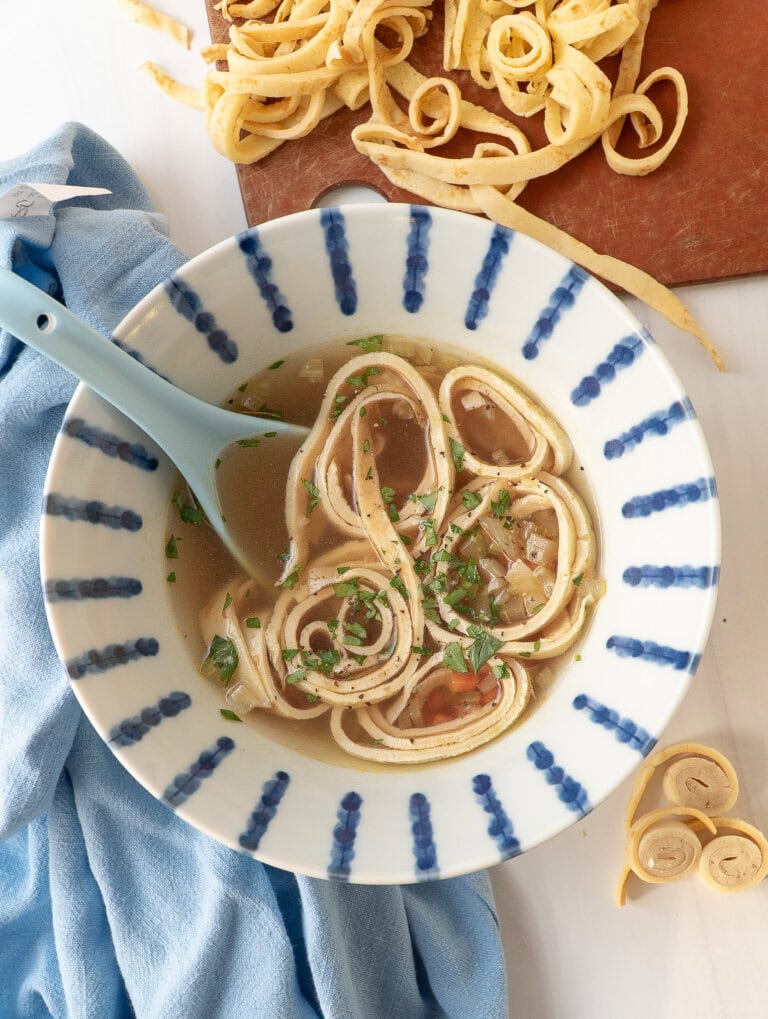
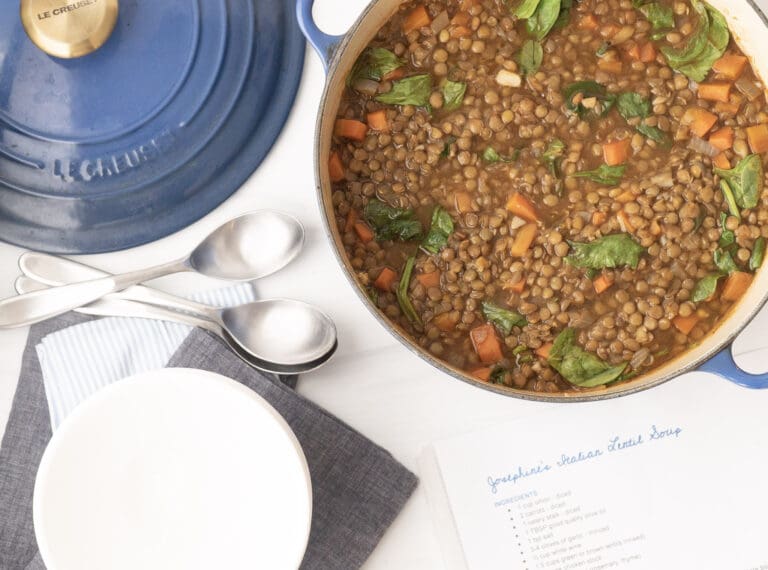
Delicious Way to Use Homemade Bone Broth
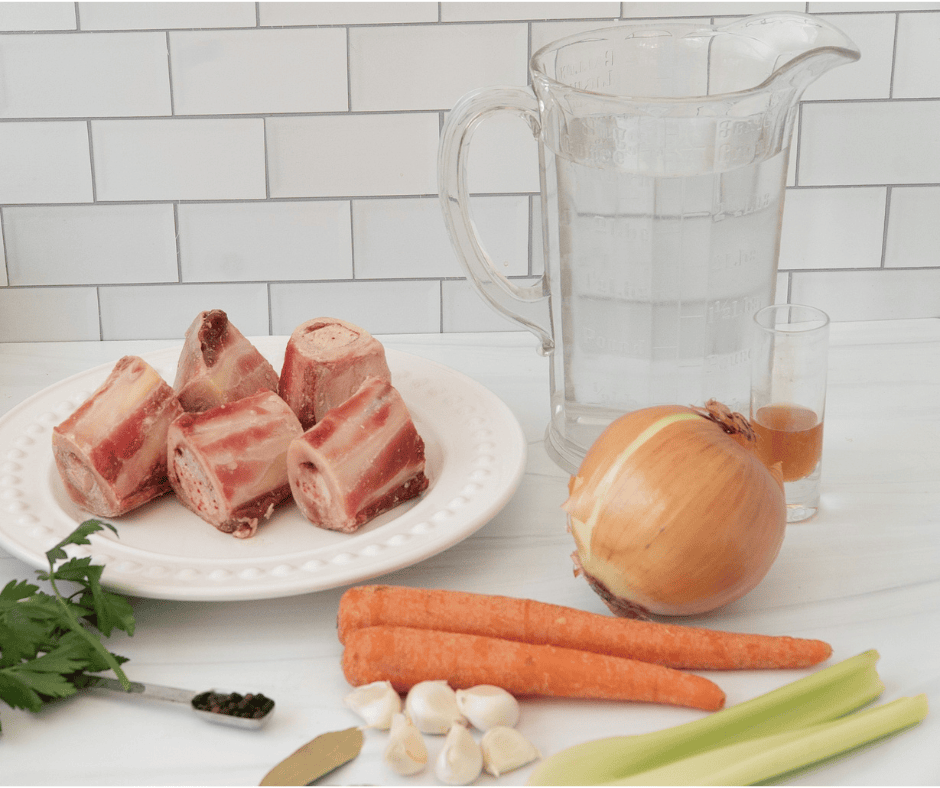
Ingredients
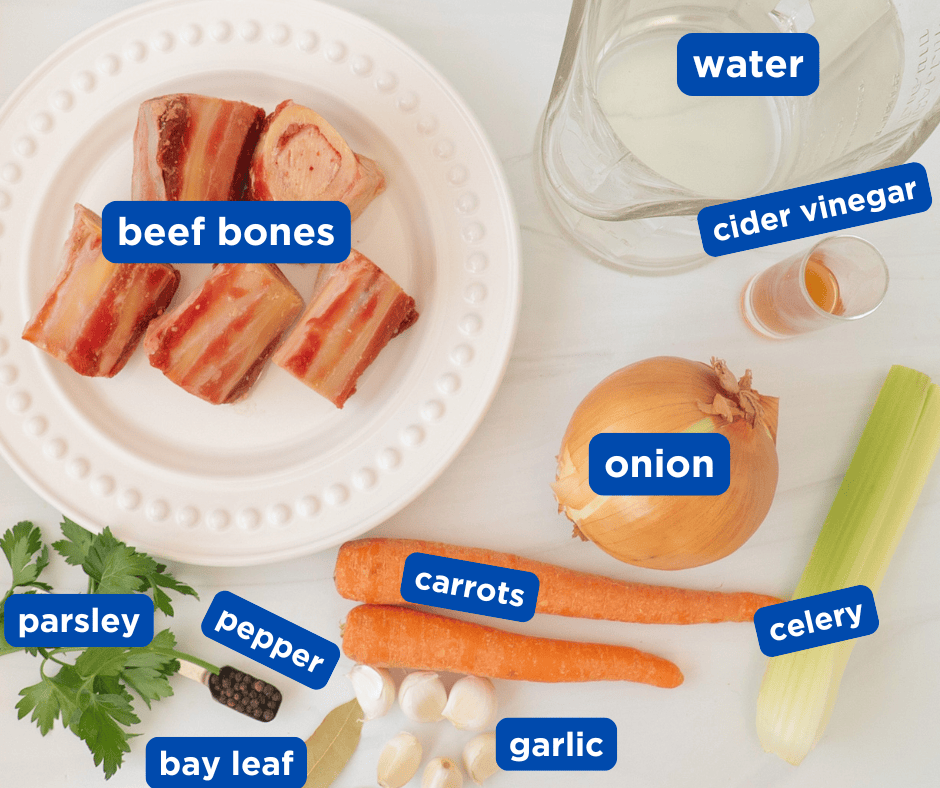
- BEEF BONES (WITH MARROW)
- WATER
- CARROTS
- CELERY
- ONION
- GARLIC
- PARSLEY
- PEPPERCORNS
- BAY LEAF
- CIDER VINEGAR
Step-by-Step Instructions
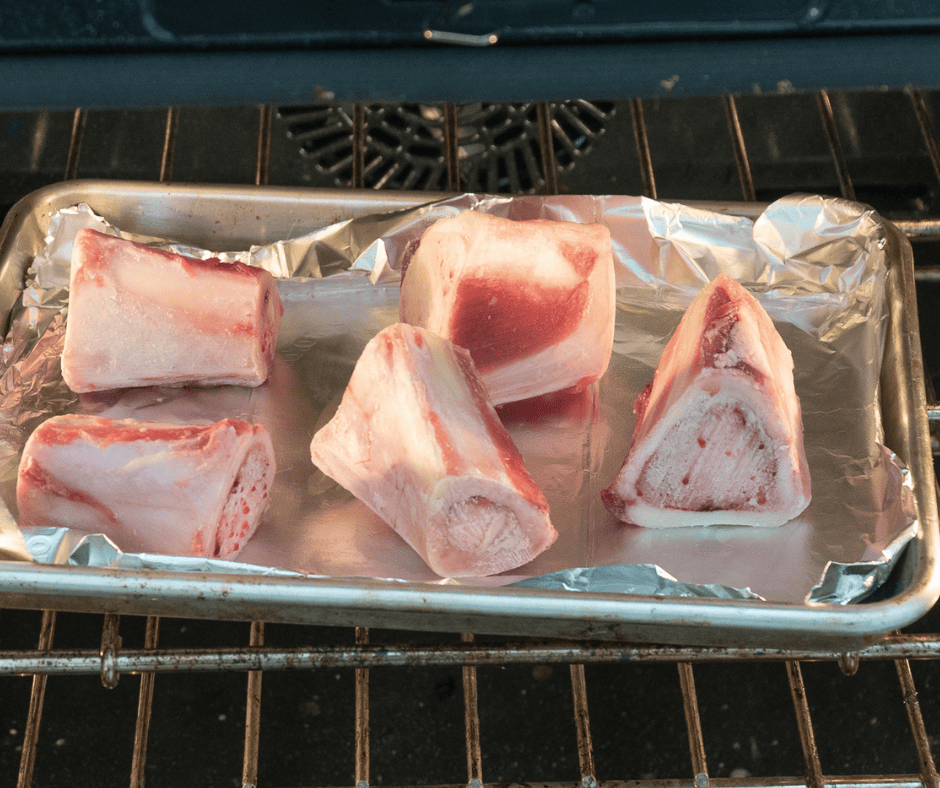
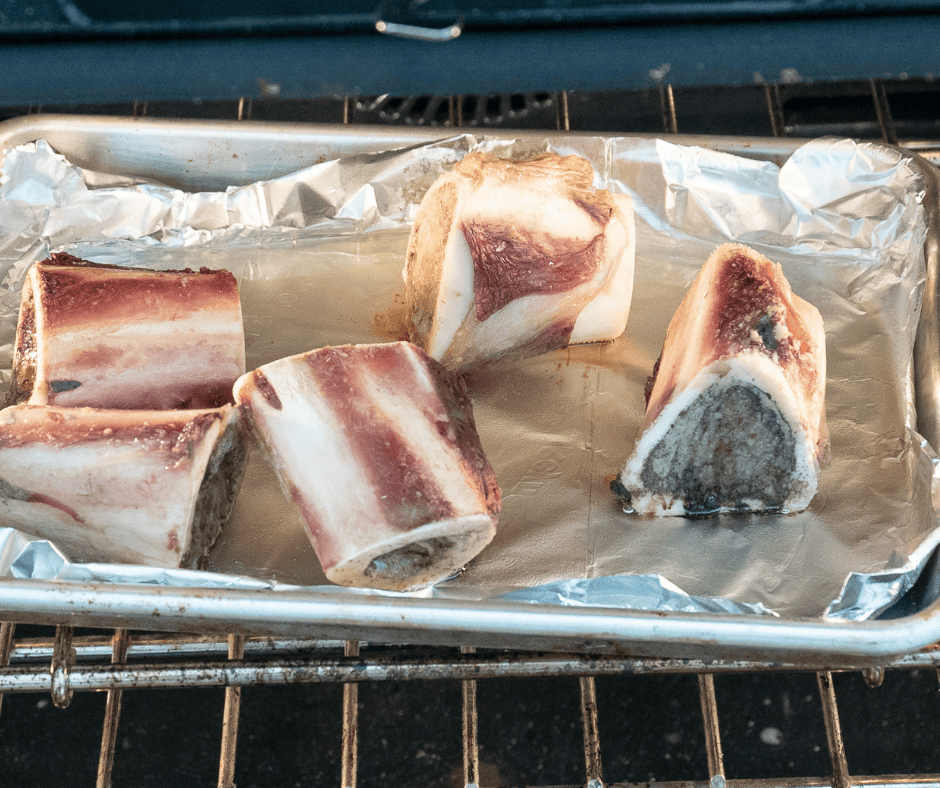
- Preheat oven to 425°F
- Place bones and marrow on a baking sheet.
- Roast for 30–40 minutes until nicely browned to add depth and color to the broth.
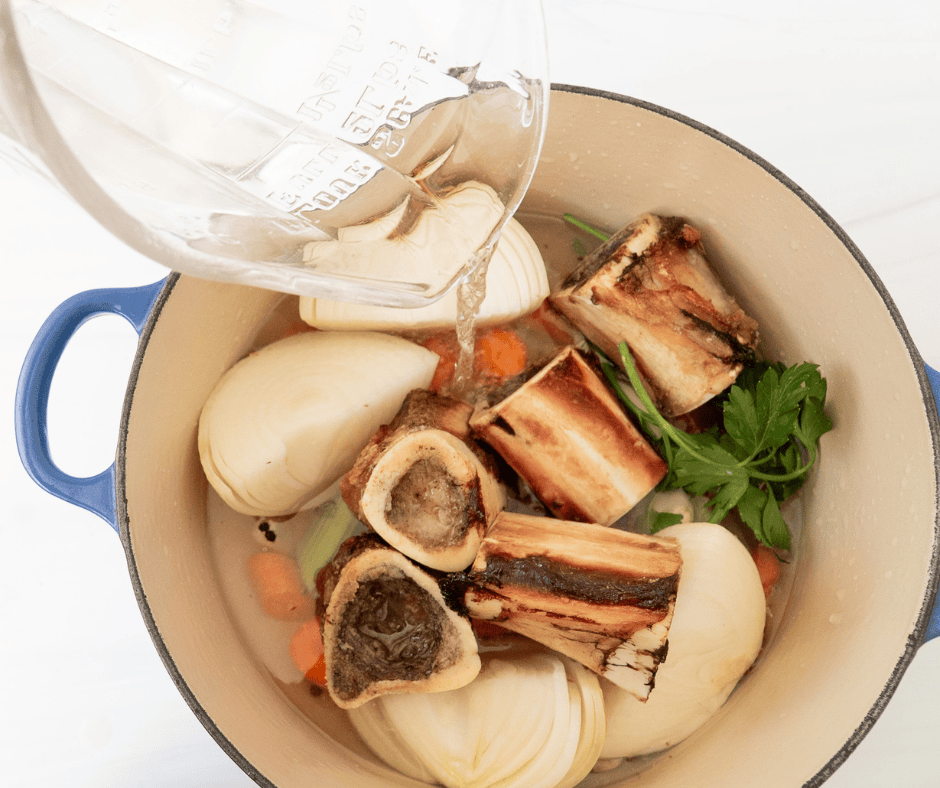
- Place bones in a large stockpot.
- Add vegetables, herbs, vinegar, and enough cold water to cover everything.
- Let it sit for 30 minutes before heating—vinegar helps extract nutrients from bones.Bring to a gentle boil over medium heat, then reduce to a very low simmer.
- Skim off any foam or impurities that rise to the surface for a clear broth.
- Simmer for at least 6–8 hours. Longer (12–24 hours) will yield a richer broth.
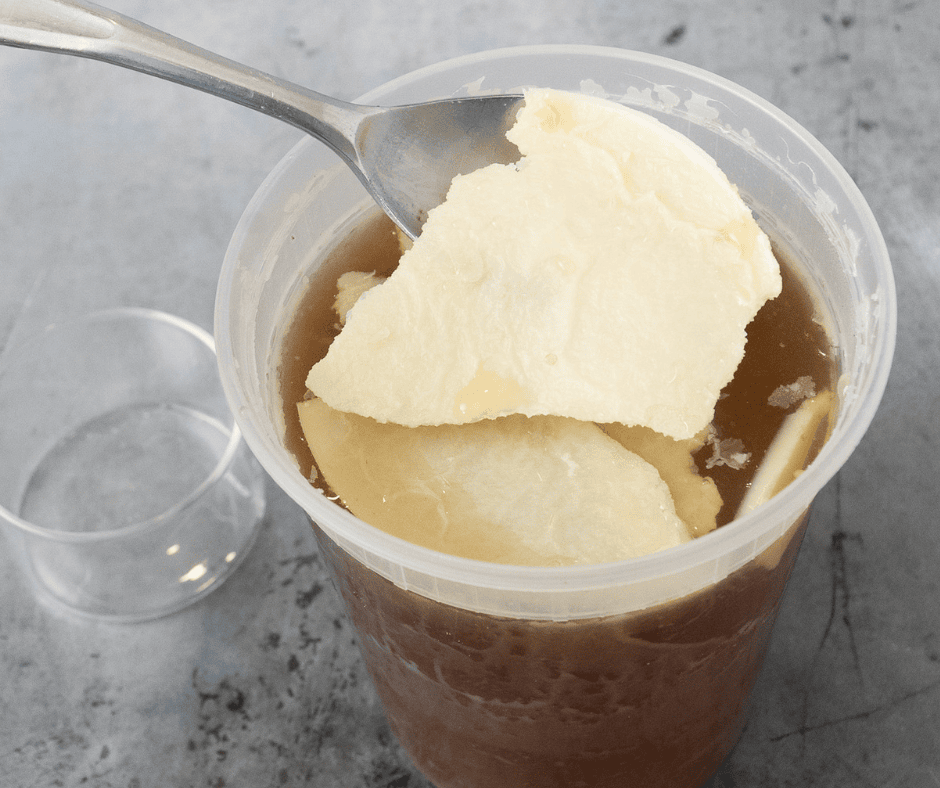
- Let the broth cool, then refrigerate or freeze.
- When chilled, you can skim off excess fat if desired, or stir some back in for richness.
How to Make Bone Marrow Broth
This slow-simmered bone marrow broth is rich, silky, and deeply savory. Made with marrow bones and a few simple vegetables, it creates a nourishing broth perfect for sipping or building flavorful meals.
Ingredients
- 2–3 lbs beef bones (ideally a mix of knuckle bones, marrow bones, and a few meaty bones)
- 1–2 marrow bones, split lengthwise
- 1 large onion, quartered
- 2 carrots, roughly chopped
- 2 celery stalks, roughly chopped
- 4–5 garlic cloves, smashed
- 1–2 bay leaves
- 1 tsp black peppercorns
- Optional: a small bunch of fresh herbs (thyme, parsley)
- 2 tbsp apple cider vinegar (helps draw minerals from bones)
- Cold water to cover bones
Instructions
- Roast the Bones
- Preheat oven to 425°F
- Place bones and marrow on a baking sheet.
- Roast for 30–40 minutes until nicely browned.
This adds depth and color to the broth.
- Prepare the Broth
- Place bones in a large stockpot.
- Add vegetables, herbs, vinegar, and enough cold water to cover everything.
- Let it sit for 30 minutes before heating—vinegar helps extract nutrients from bones.
- Simmer Slowly
- Bring to a gentle boil over medium heat, then reduce to a very low simmer.
- Skim off any foam or impurities that rise to the surface for a clear broth.
- Simmer for at least 6–8 hours. Longer (12–24 hours) will yield a richer broth.
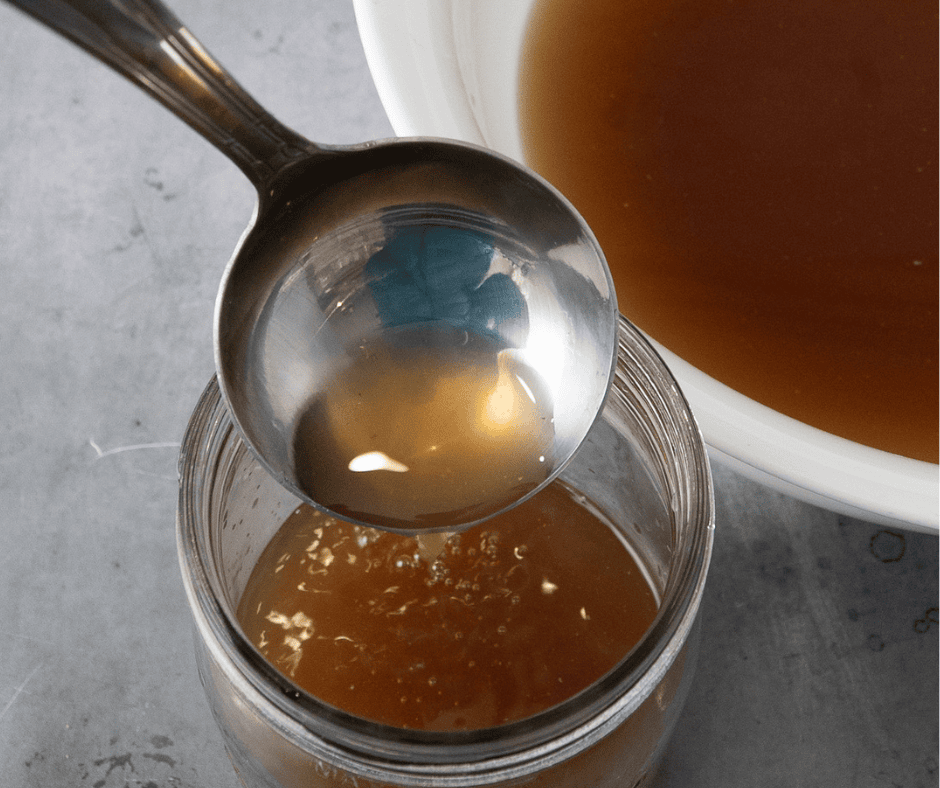
- Strain and Season
- Remove bones and vegetables, then strain the broth through a fine-mesh sieve.
- Season with salt to taste after straining.
- Cool and Store
- Let the broth cool, then refrigerate or freeze.
- When chilled, you can skim off excess fat if desired, or stir some back in for richness.